

Partner Insights
Information to advance your business from industry suppliers

Presented by Fullbay


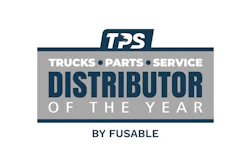
Distributor of the Year
Keep up to date on the independent aftermarket’s highest honor
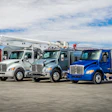
Learn how to move your used trucks faster
With unsold used inventory depreciating at a rate of more than 2% monthly, efficient inventory turnover is a must for dealers. Download this eBook to access proven strategies for selling used trucks faster.
Download
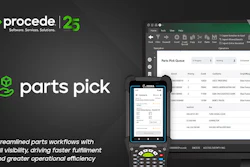
Products
Parts, components and accessories from OE and aftermarket suppliers

Maintenance
Trucking maintenance how-tos, articles, videos, and more for heavy truck dealers and independent aftermarket professionals on Trucks, Parts, Service.